|
| The half fram dark slide |
 |
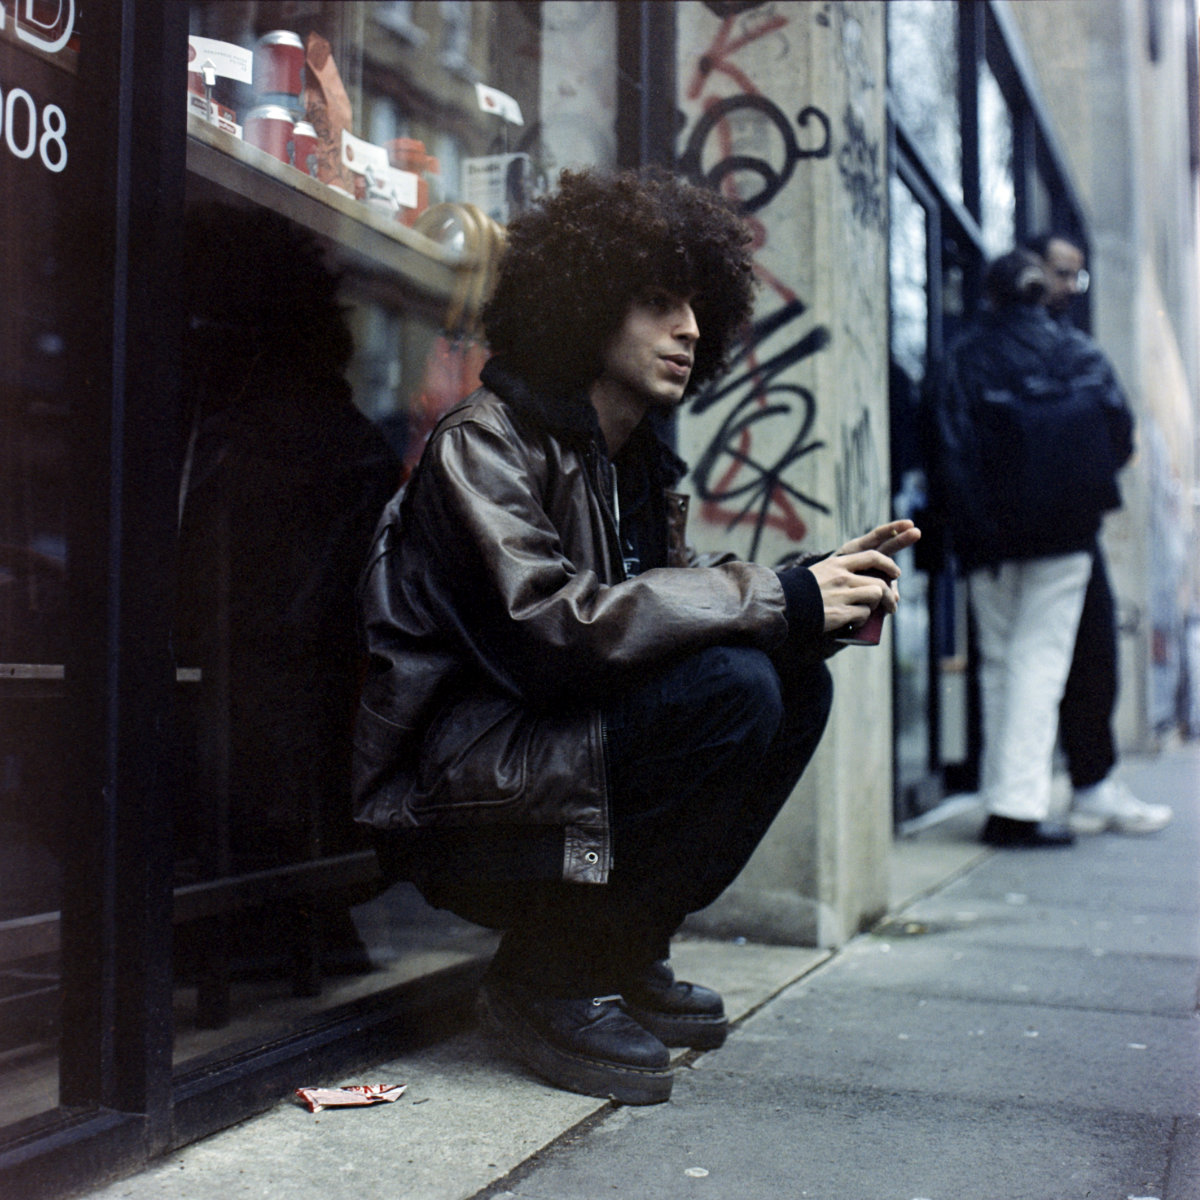
| Graffiti at Camden Town |
I have been shooting with my Bronica ETRS for a number of years and always wanted to shoot panoramic images with 135W film back. Recently I saw half frame dark slide on eBay. This is basically a dark slide that only covers half the frame. This will allow you to shoot 30 6x2.25 panoramic images. It is not straight forward and does require you to shoot in a strict sequence.
 |
| Stand dark slide against half frame slide |
 |
| The slide covering the top half of the frame |
 |
| I shot the top half and then the bottom half to for a complete image |
1. insert this dark slide into the back to cover the uppper half of the film.
2. Use the upper half of the viewfinder to take a picture.
3. Switch the body to milti-exposure mode and wind the camera.
4. Pull out the dark slide, flip it around and re-insert it, to cover the lower half of the film.
5. Use the lower half of the viewfinder to take a picture.
6. Take a picture.
7. Switch back to normal mode (as opposed to the multi-exposure mode), and repeat step 1.
 |
| Small amount of light leak |
 |
| Camden Market |
 |
| Camden Lock |


It is easy to forget sometimes. During my first roll of film, I forgot flip the multi exposure lever a couple of times and advanced the film before shooting the second image. After used to shooting 15 images to a roll, shooting 30 photos to complete a roll of film took forever.

The half frame dark slide does not allow the film back to be removed when inserted. The camera does not know it is inserted and allow the shuter to fire.
 |
| Negative showing frame spacing. Note full frame image can be mixed with panoramic. |
This is a very cheap way to shoot panoramic if you already have a Bronica ETRS. I will be using it again. I do need to create a musk for the viewfinder to show the middle. For this test roll, I guessed the middle. The half frame slide in highly recommended if you are will be work to a strict routine.
All images shot with 50mm F3.5 lens.